WALL-TO-WALL WOW

PERFECTLY HUNG ART
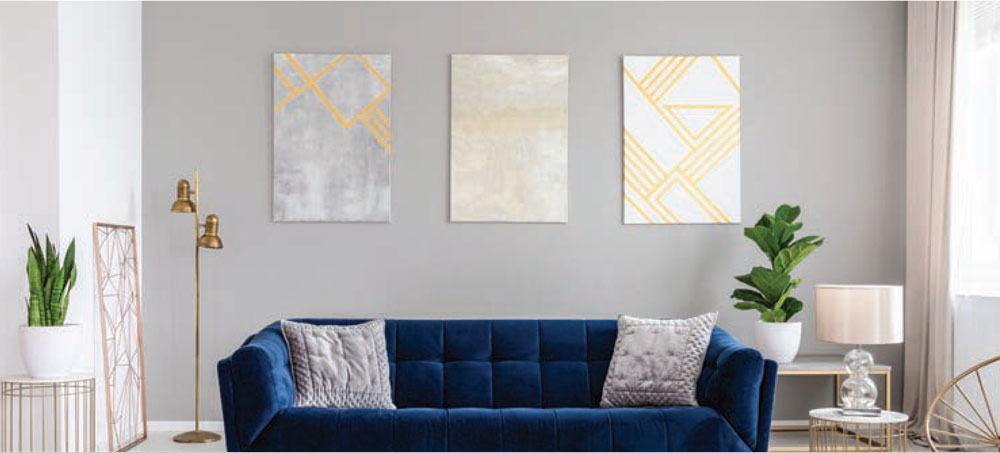
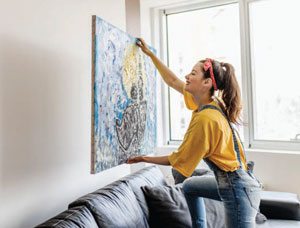
Nothing has greater wow power than perfectly hung artwork. Thoughtfully curated and expertly displayed art has the capacity to elevate a living space, taking it from humdrum to spectacular at just a glance. More than the sofas and chairs or carpets and curtains we select, the artwork we hang personalizes our surroundings and tells our stories. And the best part is that even a novice picture hanger with just a few basic tools, a little design know-how and time can achieve remarkable results.
Evaluate your space
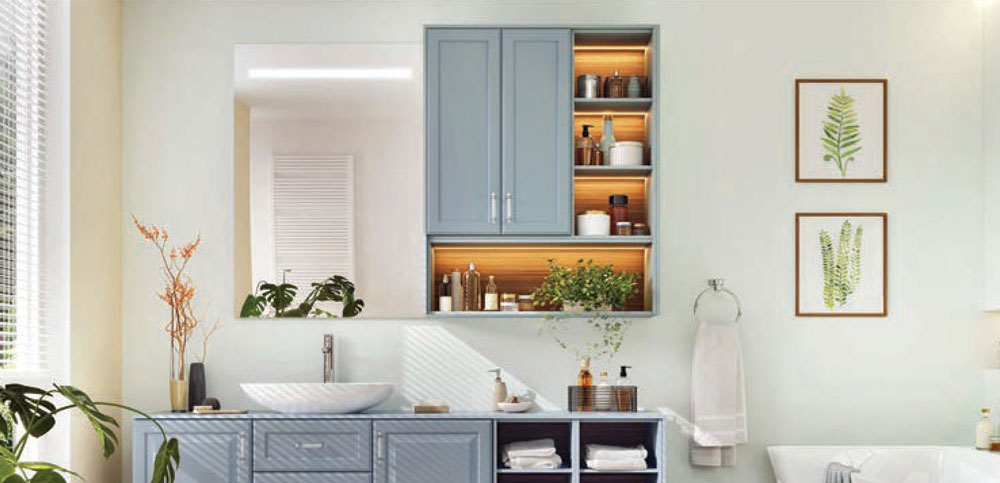
Where in your home do you have a stretch of blank wall? Which room is in greatest need of a little spiffing up? Some people like to dive right in and start with the area of greatest impact such as the room they spend the most time in; others prefer to practice hanging art in a smaller, more out-of-the-way space such as a bedroom, kitchen or bathroom (yes, a bathroom). Once you’ve evaluated your space and selected the first spot for beautification, you’re ready to get started.
 Survey the artwork you own
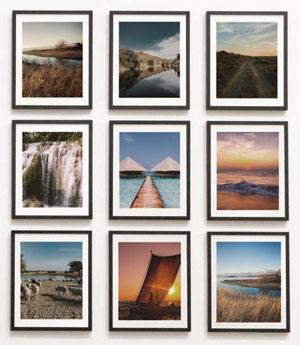
Pull out any pieces of art you might have stashed away. What you find can be a great starting point. For smaller pieces, you might want to create a small grouping of an uneven number. A small, unified grouping (typically five or fewer pieces) can do wonders to enliven a kitchen wall, hallway, office or bedroom. For larger numbers of pieces, consider creating a gallery wall. (See the end of this article for how to create one).
 In the event you don’t have art tucked away just waiting to be hung, visit one of the area art galleries such as LinDor Arts in Roanoke or Goose Creek Studio in Bedford to select a piece of local art to bein your collection. While the advice of a professional might be helpful in launching your art collecting, Patrick Ellis, local artist and co-owner of Goose Creek Studio, cautions that neither picture selection nor hanging is a team sport but one that benefits from a single decision maker.
 How high to hang?
As for how high to hang artwork, apply the tried and true 57″ rule. This means that the center of the piece should be 57″ from the floor, which is the average eye level and the rule used by galleries, museums and decorators alike. When hanging artwork up a staircase, measure up from the steps 46″ for the bottom of each piece. Note, too, that scale is critical in achieving visual harmony. Rooms with higher ceilings call for larger wall hangings, whereas rooms with more typical 8′ ceilings look better with more moderately size artwork. Once you have the art ready to hang and have decided on its location for display, you are ready for the installation phase.
 Gather your tools and supplies
Fortunately, the list of what you’ll need to hang your artwork is relatively short, and most of the items are readily available in a home improvement or hardware store. Weigh your artwork to select the appropriate hanging method and supplies, and watch a couple of YouTube tutorials for the how-to.
Photo: James River Media
- Pencil
- Hammer
- Painter’s tape
- Picture-hanging paraphernalia
- Level (there’s a cell phone app for that!)
- Kraft paper for cutting to size and practicing your layout
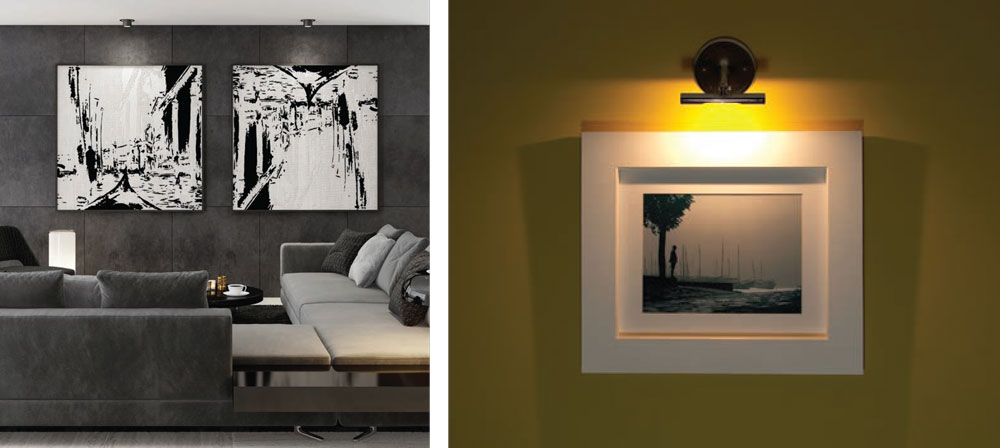
Shine a light on it
Dedicated picture lighting will further boost the wow factor of your newly hung artwork. With the many types of cordless and battery-powered options available, you can achieve a gallery-worthy look without the expense of an electrician. Don’t be afraid to spotlight your art collection, no matter how humble you believe it to be. The pieces you’ve chosen for display, the way you’ve matted and framed them and their arrangements in your home will be an expression of your uniqueness, something worth celebrating every day. ✦
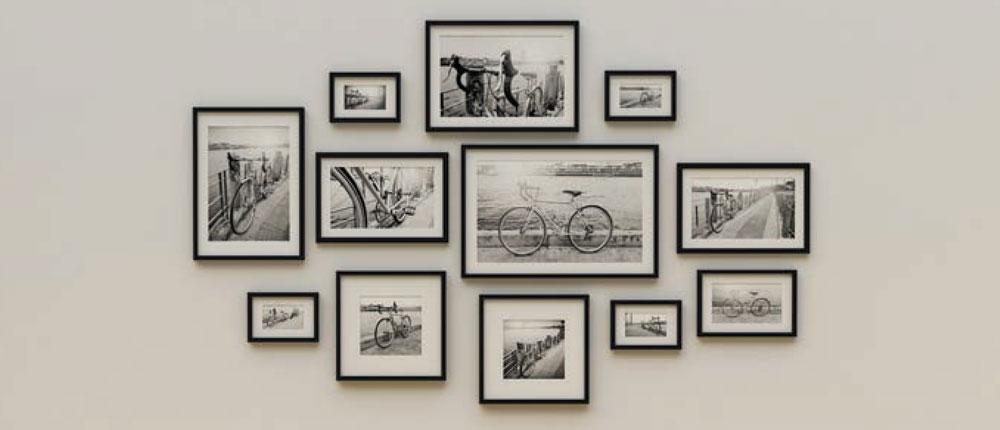
HOW TO CREATE A GALLERY WALL
Sources: wayfair.com, thespruce.com, The Expression
1. PICK WHAT TO FEATURE
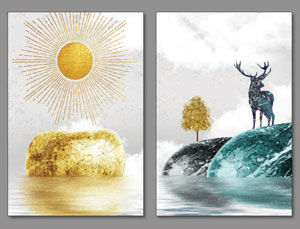
Most gallery walls feature art in a variety of sizes. Whether it’s a particular subject matter or color scheme, identifying a theme can work well aesthetically. There is no exact science to pairing art, but the best gallery walls have balance. Using art with similar tones and intensities is a way to tie a gallery together.
2. CHOOSE FRAMES
Different artwork may require different frames, while some don’t need a frame at all. A mix of frames will create visual interest, but to keep your gallery wall from becoming too chaotic, start with three styles. Use both horizontal and portrait orientations. You can also unify frames by painting them the same color.

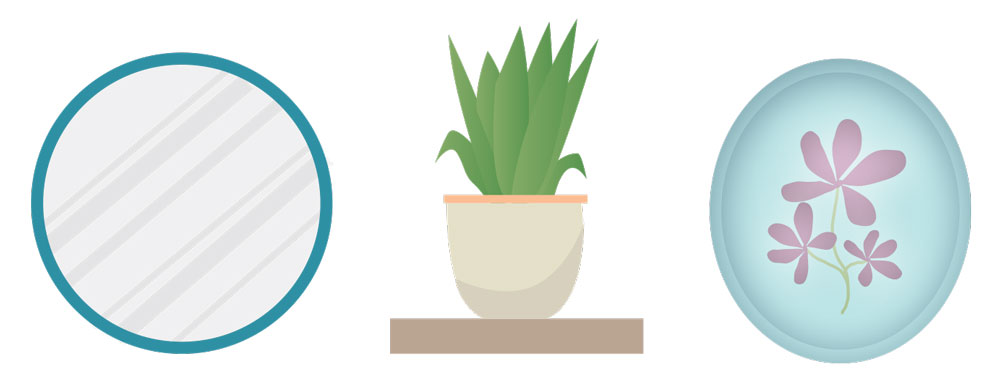
3. ADD ART ALTERNATIVES
A strong gallery wall generally consists of a mix of artwork types. Adding a mirror can make the gallery more dynamic as well as make the space feel larger. You could also use ceramic pieces, textiles, shelving or other wall décor to add visual interest among your art.
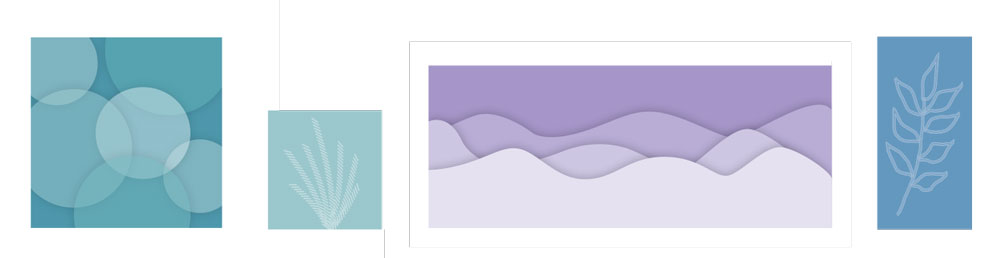
4. DECIDE ON A LAYOUT:
Place your chosen pieces on the floor or create paper templates and stick them to the wall. This will allow you to easily rearrange as needed. Try to keep the art around 3 inches apart to prevent overcrowding. A general rule of thumb is to start with the largest piece somewhere near the center, and move outward in descending sizes. Using the largest piece to anchor the collection creates balance. You can also intersperse small art throughout to fill blank space. See some example layouts below.
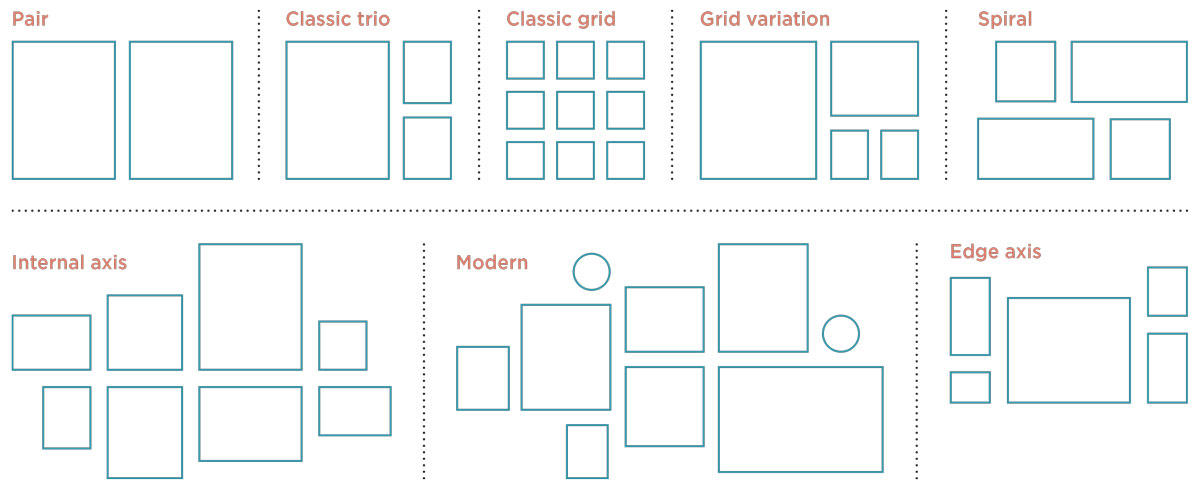
5. AIM FOR SYMMETRY
An easy way to create visual balance is with symmetry. Although you don’t have to use a linear grid, you still want harmony. Place frames of similar sizes on either size of the gallery, and stagger art until you achieve the look you want.
6. KEEP IT LEVEL
Different artwork is usually strung differently, so be careful when positioning them on the wall. Make sure your final result will be level.
blank wall, gallery wall, hung artwork, picture hanger, picture lighting, spotlight, unified grouping, wall hangings