Getting the Hang of It | Hanging Art Properly

Choosing artwork for your home is mainly about personal preference and depends on what kind of unique look you are going for. Do you want decorative pieces that contain just the right colors for a particular room, or are you looking to make a statement by featuring an individual artist or subject matter? There is no wrong or right answer here as long as you love it; there is, however, a proper way to hang the artwork you choose. Follow these simple guidelines to avoid making common picture-hanging mistakes.
Some blunders that people frequently make include hanging art too high or too low, placing artwork in such a way that is not proportional to the space, or hanging too many pieces together in a grouping or space.
Pam Fridley, the owner of The Little Gallery in Roanoke knows a thing or two, or a million, about art.
“There are a lot of mistakes that can happen when hanging art,” she says. “Art that is not hung properly can’t be unseen and will give the viewer a negative feeling. They won’t see the art—only that there is something not right about it, and they don’t really know why.”
Spatial technique is an essential aspect of hanging art to keep the correct ratio of art to wall space. Doing so will prevent the space from looking either overwhelmed or underwhelmed.
“We typically recommend that a buyer purchase artwork that will cover two-thirds to three-quarters of the available wall space,” Fridley says. She finds the following range of measurements will look very proportional to the space:
- Measure the length and width of your available wall space. (Available wall space refers to the blank area you want to fill that is not covered by furniture, molding, etc.)
- Multiply the width by .57 and .75.
- Multiply the length by .57 and .75.
- The result gives you a range of measurements that will ensure the correct size of artwork in the space.
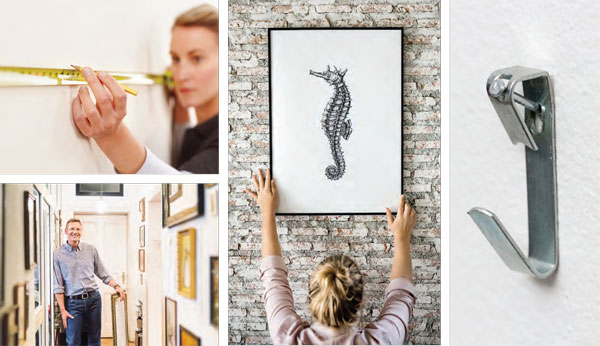
The next consideration is figuring out where to place the hardware to guarantee the artwork is not hung too high or low. One basic rule to follow when hanging a single work of art is to place the center of the piece at eye level. People shouldn’t have to strain themselves to view artwork. To find out where exactly to install your hook or hanger on the wall, Fridley takes us step-by-step:
- First, measure the distance between the hardware that’s on the back of the piece to the top of the frame.
- Then, locate the vertical center of the artwork by measuring the height of the artwork and dividing that in half.
- Third, locate the horizontal center of the wall space and place a pencil mark at eye level, roughly 64 inches from the floor.
- Finally, the hanger or hook location = (C + B) – A. The bottom/crook of the hanger or hook should rest here.
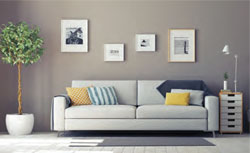
If hanging the artwork above a piece of furniture–such as a sofa, console table or headboard—the artwork width should measure two-thirds to three-quarters of the width of the piece of furniture. The bottom of the artwork should rest six to twelve inches from the top of the furniture piece.
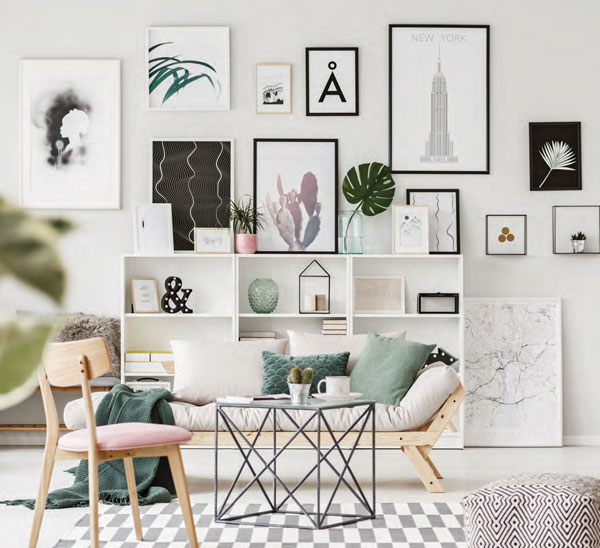
Groupings of work are a little more challenging to deal with than a single wall hanging. For the most effective presentation, Fridley believes in grouping together pieces of similar artwork, such as black and white photographs or small paintings with a similar look and feel.
“The objective is to create unity within the grouping,” she says. “The more elements that repeat, the more unified the grouping will look.”
When designing the grouping, the outer shape of the whole should follow the format of the wall and the same angle as the ceiling. For example, the outer shape should typically be rectangular, triangular, square, or oval, and all of the individual pieces should be hung close enough together—and also evenly spaced—so the viewer can see the outer shape when standing back from it.
“Eliminate any element from the grouping that attracts too much attention to itself,” Fridley says. “This will not be very appealing. Also, even numbers make a great display, but I think odd numbers in a grouping provides more options to work with.”
Treat all of the pieces together as one whole piece of artwork when figuring out hanging dimensions.
As far as proper tools and implements go, the following are recommended items to have handy before you begin to hang your art:
- Hammer
- Level (a carpenters level is fine, but a laser level is best)
- 25-foot measuring tape
- Locking pliers and needle-nose or regular pliers
- Screwdrivers—Phillips head and straight
- Electric drill

You will also need suitable hanging devices, which vary widely depending on how large or small the artwork is. The most common method is to suspend the art from a D-ring, wire, or bracket that is attached to the back of the wall art and then hung from a j-hook. These options are best for framed works or creating a gallery wall. For weighty pieces, use multiple suspension points.
Choose a hook that is appropriate for the size and weight of the art piece. Most standard hangers come in sizes that can hold five, 10, 50 and 100 pounds of weight. On larger pieces, use two hangers to ensure stability. If looking for a short-term solution, command strips can be used in instances where wall art is lightweight, unframed, and will not be permanent.
Artwork can be the most expressive element in your home; it conveys a feeling and sets the tone of the entire space. Follow these tips to avoid falling prey to some of the most common design mistakes and achieve artful, amazing results. ✦
design, Groupings, Hanging Art, hanging devices, hardware, Spatial technique